Kitchen organization hacks
How do I arrange things in my kitchen?
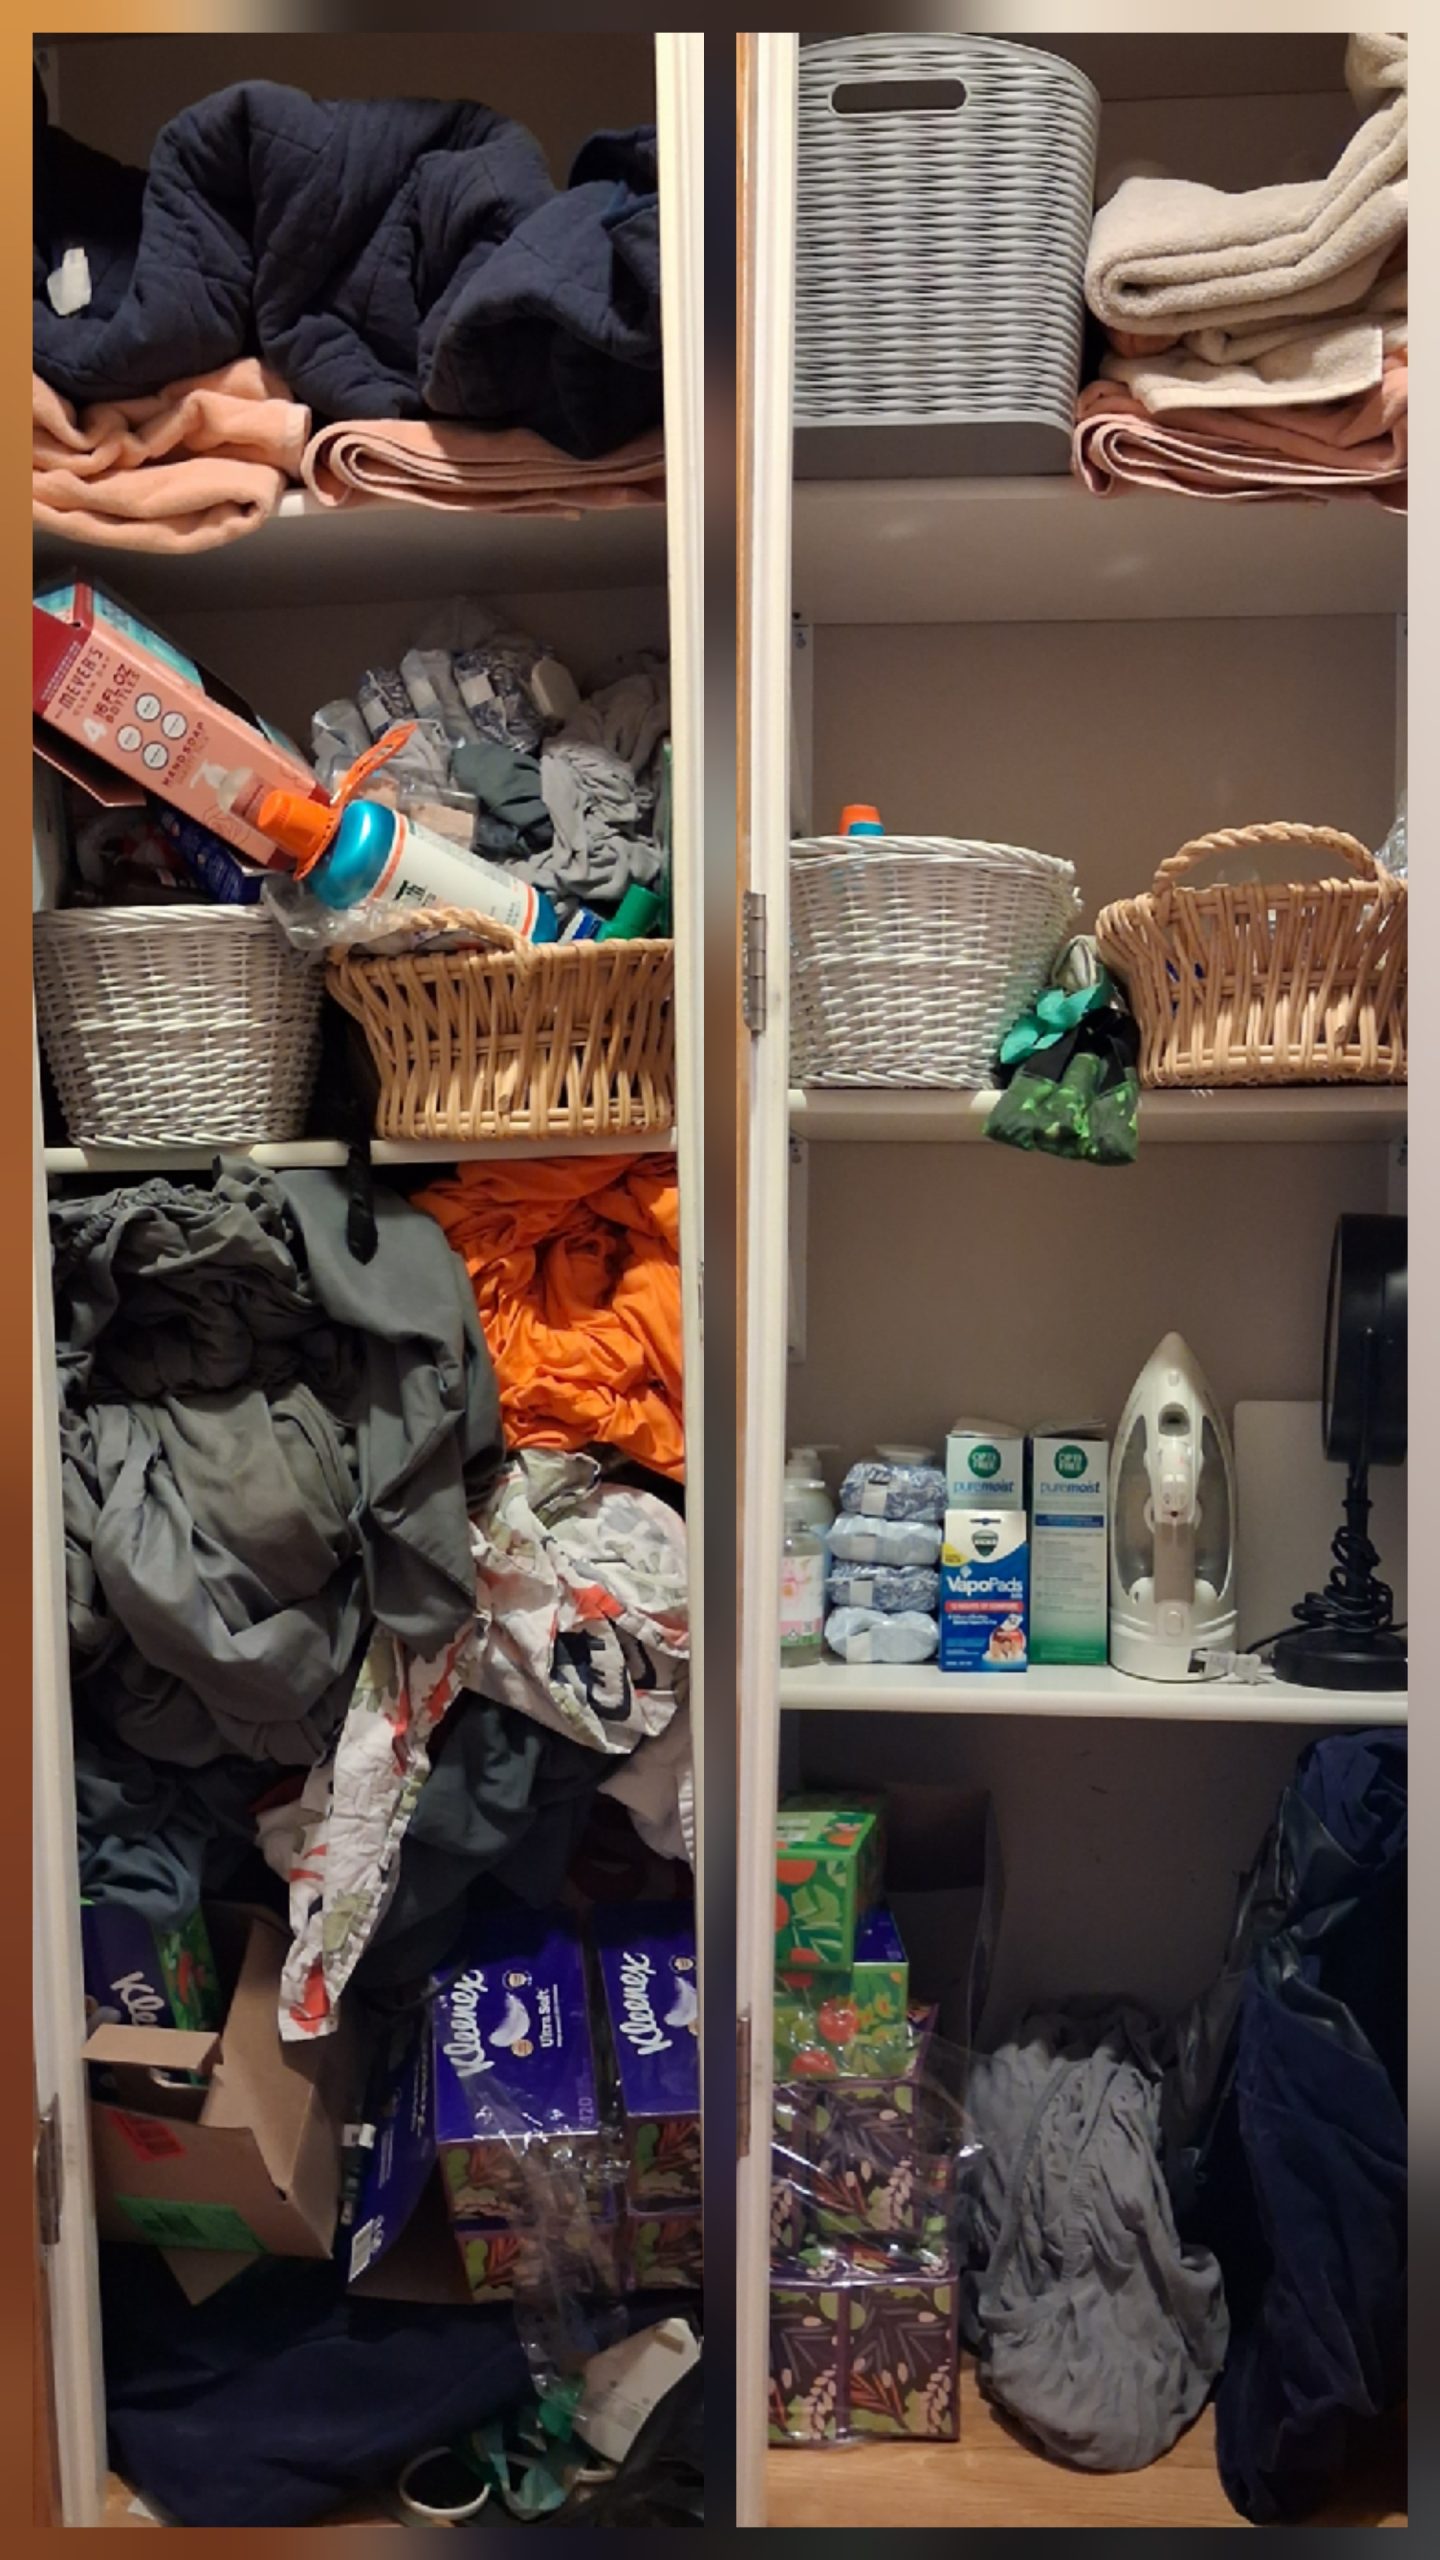
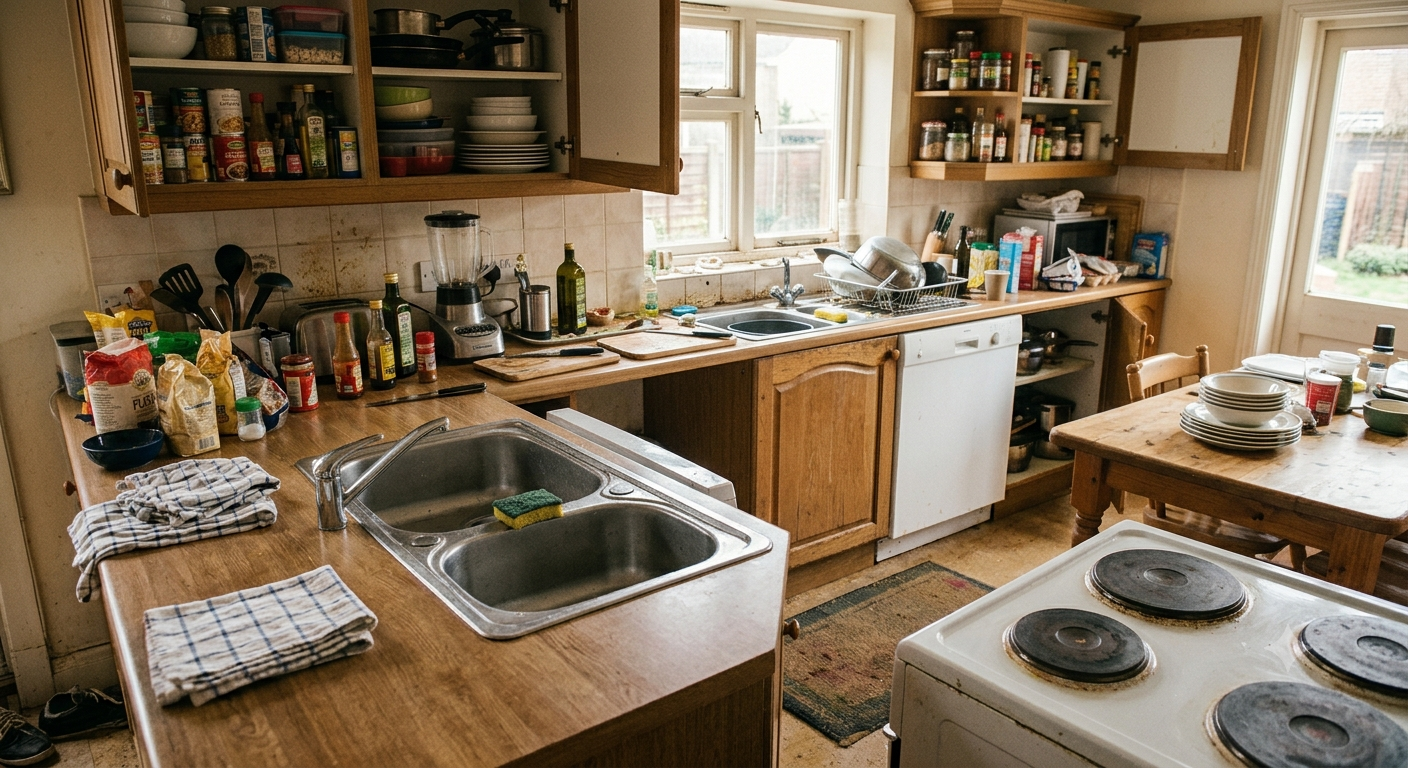
Your kitchen isn’t working for you, but you don’t know how to fix it. You thought you had some organization in place, but using your space still feels like a burden. You are not alone. It is one of my most common complaints from clients. “I just don’t know what happened. Things just got out of control, and I have no idea where to even begin to make things better.” That’s where a professional organizer can help you get started, but I am going to give away some of the secrets right here.
The Problem
Kitchens can be some of our biggest trouble spots, and they can seem very overwhelming to tackle. One of the reasons is everything seems more necessary than in other rooms. I have to be able to cook. I need to store food. Everything is important. But we can tackle this. We also don’t always even know what we have. We need to get rid of unnecessary items: appliances we don’t use, tools we have unnecessary duplicates of, again with the garbage that hides itself everywhere. But we can’t know what stays and what goes if we don’t know what we have. So the system of doing one drawer at a time doesn’t always work in a kitchen. If I have eight spatulas, but they are all in different drawers, when I do each drawer, I will save that spatula every time because of course I need a spatula. But if we have to take literally everything out of every cupboard and drawer all at once, that can quickly overwhelm the space, the time, and the emotions available. So how do we conquer a kitchen?
Six Easy Steps to an Organized Kitchen
Step 1: Zone your kitchen
Take some sticky-notes and a pen and decide where everything should go when you are done. Think hard about logistics and how you actually use your kitchen. Here are some things to consider. (I go into more detail in this post on kitchen flow.) When in doubt, make it more convenient to put away than to get out. Group things by use. Make stations for different activities. Some important categories of items to make a home for include appliances, pots and pans, storage containers and lids, utensils, dinnerware, cloth items like dish towels and hot pads, and food.
Step 2: Pull everything out! (but just from one category of items).
Start with the category whose objects are physically biggest. I always start with appliances. They take up a huge amount of space, and most of us don’t use or need a good percentage of the ones we have. Take every appliance out of every part of your kitchen and put them in a staging area, like a table or clear countertop. This ensures you see all of what you have. This also frees up a lot of space on your shelves (because you are not going to put everything back, I guarantee it.)
Step 3: Declutter
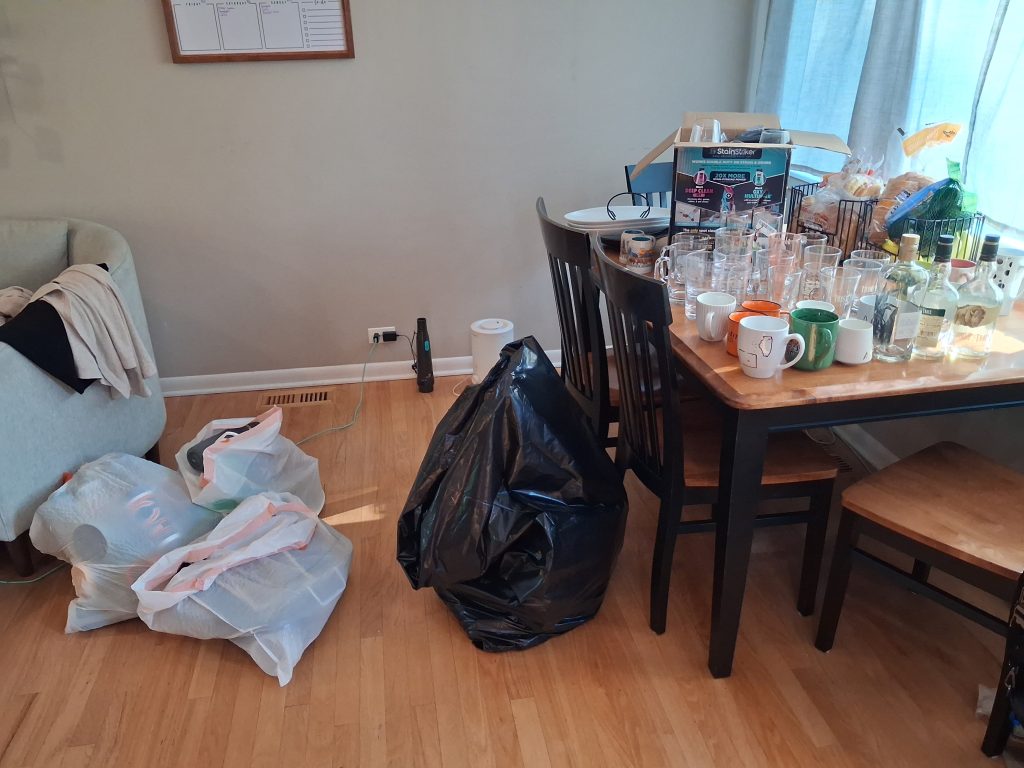
Use the 5-step decluttering process to start. Get rid of anything truly broken that just needs to go in the garbage. If there is anything that is an obvious donation, put it in a box to stick in your car at the end of your declutter to go to the charity of your choice. Make the hard decisions about what you really use and what you can sacrifice because your peace of mind is more important.
Step 4: Make room in the new home
Now, you already labeled a home somewhere in your kitchen for the appliances (or whatever category you worked on) that are left, so we just need to put them there. This is the tricky part. Other things live in that space right now. So, take everything out of that space. As you do, practice the decluttering process. Throw away garbage. Put aside obvious donations in the donate box. Take anything that belongs somewhere else in the house to its real home. Then everything else just goes in an empty space freed up when you took your appliances out. Normally I do NOT recommend “stuff shuffling”, but in this case, we are going to make an exception. This allows us to quit at any time with only 5 minutes notice and leave no mess because nothing stays on a counter. Everything goes back in a cupboard immediately. If it will fit in the new home you designated for whatever item is in your hand, bonus! When it doesn’t fit, look for garbage or donations you can remove to make it fit. Finally, put it anywhere it can fit for now EXCEPT for the appliance shelf. That is now, and forevermore, only for appliances. No exceptions. That is how you keep an organized kitchen.
Step 5: Put everything in its new home
Now your appliance cabinet is empty, so put everything away in its new home. First, put in the things you use most, and put them in the most convenient locations. Things you use less go on higher shelves. Appliances can be bulky. It can be tricky to make things fit, but remember that it needs to be as convenient to put things away as leave them out, so don’t make the puzzle so hard to put together that only an expert can do it. If you have to, part with another seldom used appliance to make room, or put that pasta maker that you only use on Fat Tuesday in the basement storage area instead. Don’t forget that most cupboards have adjustable shelves, so use that to your advantage.
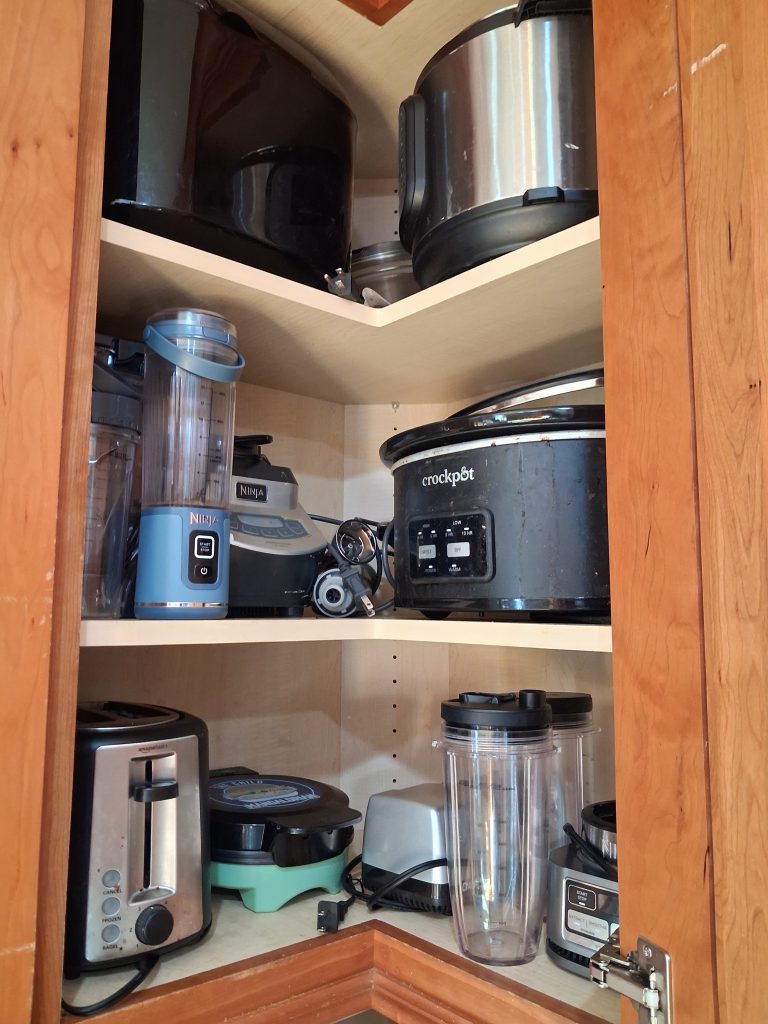
Step 6: Repeat for every category in your kitchen
Now you know the process, so pick the next biggest category of items in your kitchen and follow steps 1-5. Keep going until every category and every space in your kitchen has only one job and every item in your kitchen has only one home.
The Reward
Congratulations! You did it! Every object in your kitchen is now something you love and use regularly and has its own place. Will you refine this over time? Yes. Will you find things that make your in-drawer and in-cabinet organization even more functional? Yes. Will you absolutely love your kitchen and feel more peaceful and productive in it even today? Yes!!!

As a former teacher I used to tell my students that high school math isn’t difficult, it is just sometimes very complicated. Each step is easy, it is putting them all together in the right order that is hard. But if someone can break it down in a way you understand, almost anyone can solve the problem at hand. The same is true of organizing. Hopefully this blog helped break down kitchen organizing so you can tackle your problem space (because this method works in a lot of spaces). If not, a professional organizer can help you tailor a process very specifically to your home. Happy organizing!