
How do I organize my garage?
Today we are tackling part 2 of my garage organization. Last time, in just an hour, we got all the garden supplies organized on shelves in the garage. This time we take on tools and auto. And this is where we get into two types of zoning.
The first zone we will discuss is the “danger zone” of organizing things that belong to someone else. In this case, my husband needed to have a big say in how the tools and auto supplies are organized. I also have two college-age boys who are living at home, and summer is prime motorcycle time. They have all their bike gear and supplies that naturally get dropped in the garage.
The second type of zone we will demonstrate today refers to a concept you have already heard about if you have read my other blogs. Any time you organize a space, it is helpful to dedicate zones for specific categories of things. Each room in your house should have a dedicated purpose. Each space in that room should fit within that dedicated purpose. Then each space can have subdivisions that are as detailed (or not) as makes your space work for you. Our garage houses all things outdoors: our vehicles and their supplies, tools, gardening supplies, lawn care, and recreation equipment.
Body doubling in the garage
So let’s get started and work on our garages together today! Our first goal meant my husband and I had to work together to come up with some zones for the shelves we had left to organize. We already had a dedicated area for sports equipment which we didn’t really change. We also knew that we wanted areas for the tools and a space for supplies for the vehicles.
He uses these areas more than I do, so he made the final decisions about categorizing things. Working with other people’s possessions can be a danger zone in decluttering. Relationships are always more important than things. Making progress trumps perfection. I never force a client (even if, maybe especially if!, it is my family member) to throw away or donate something they don’t want to get rid of. Discussing motivations for keeping things often brings clarity, and your space sets natural limits on how much you can physically store. As a professional organizer, I just help the client make decisions about their priorities and how to most efficiently and effectively make the space work for them.
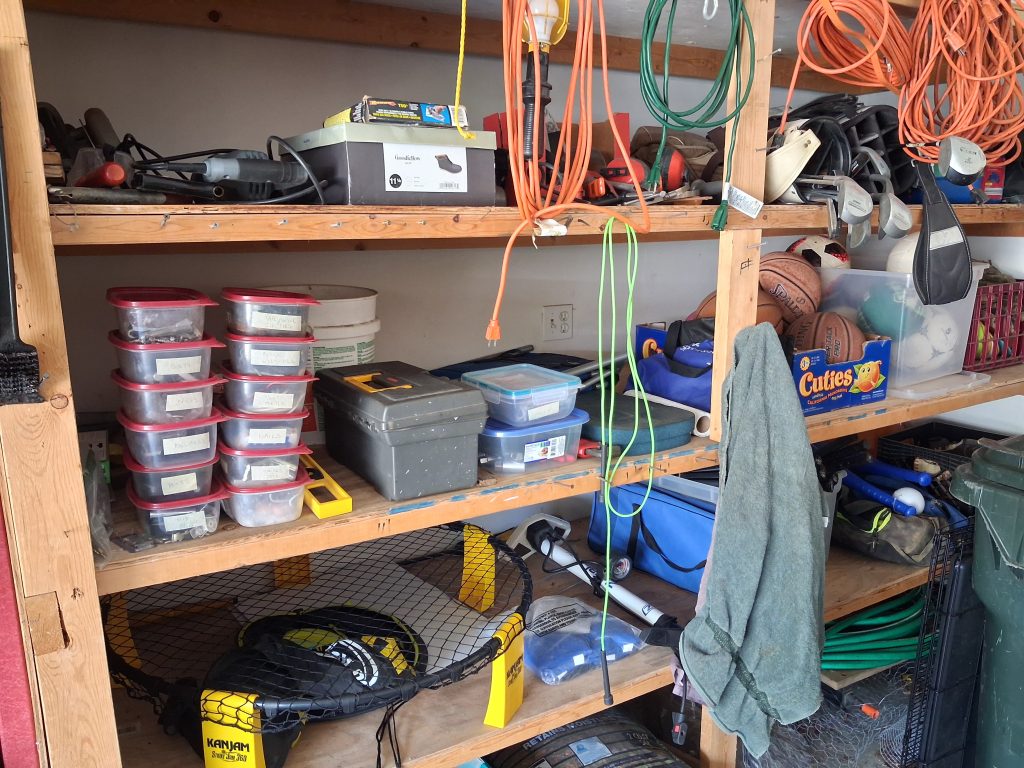
No-mess decluttering
The first step is always just to get rid of visible trash. We always find some: empty bottles of product, packaging that we never threw away, broken items, extra parts from things that we already installed.
Step two is to find everything that has a home somewhere else, it just ended up here instead. In our garage, that was a lot of painting supplies that have a home on a shelf in our laundry room. Q few tools had also migrated over there that wee needed to put back on the tool shelf.
Step three looks for obviously donatable items. We didn’t find any of these this time, but often you just know that you will never use that pumpkin-shaped plant pot with the kitschy autumn saying on it. However, someone else might love it, so into the donate box it goes.
Finally, for everything left now, we ask, “If I needed this later, where would I look for that first?” In this case, we were working on this particular set of shelves so they could become the zone for everything auto, so we knew everything now belonged here.
Creating zones
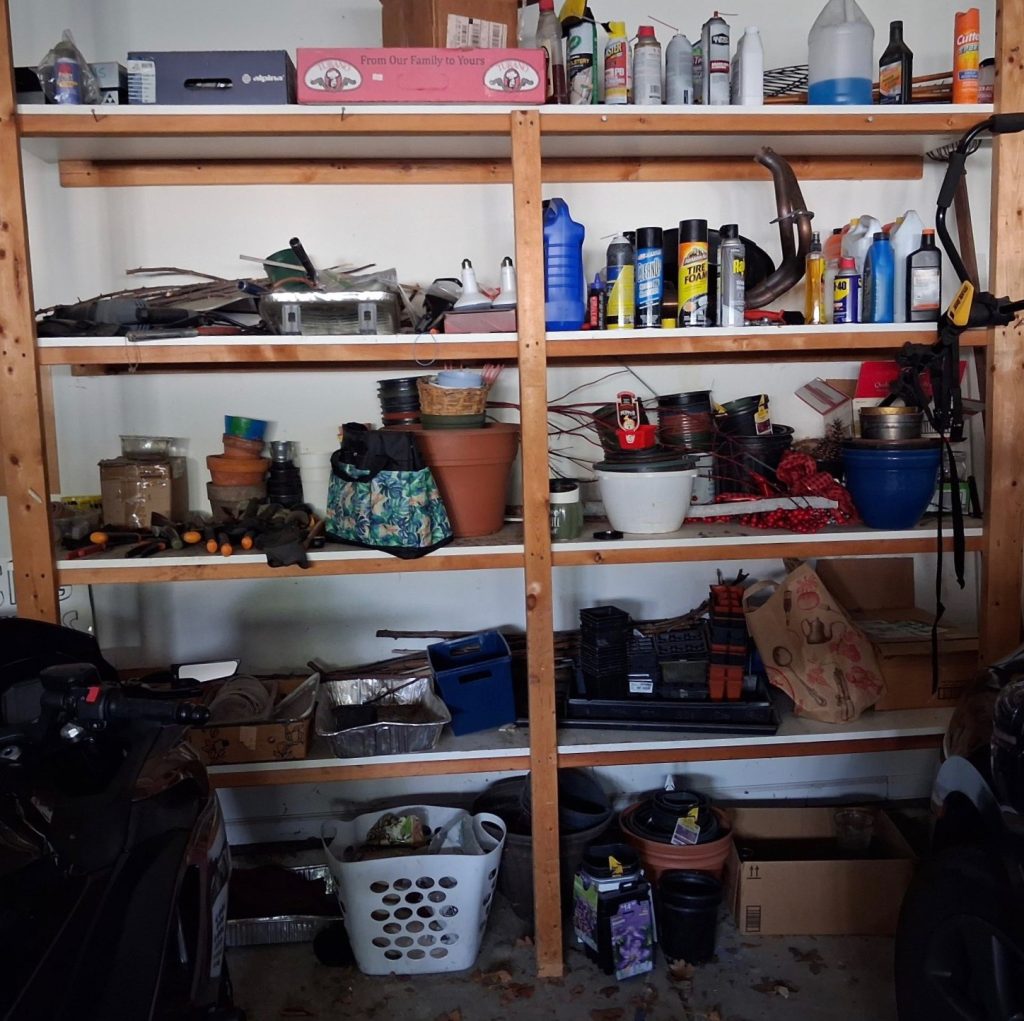
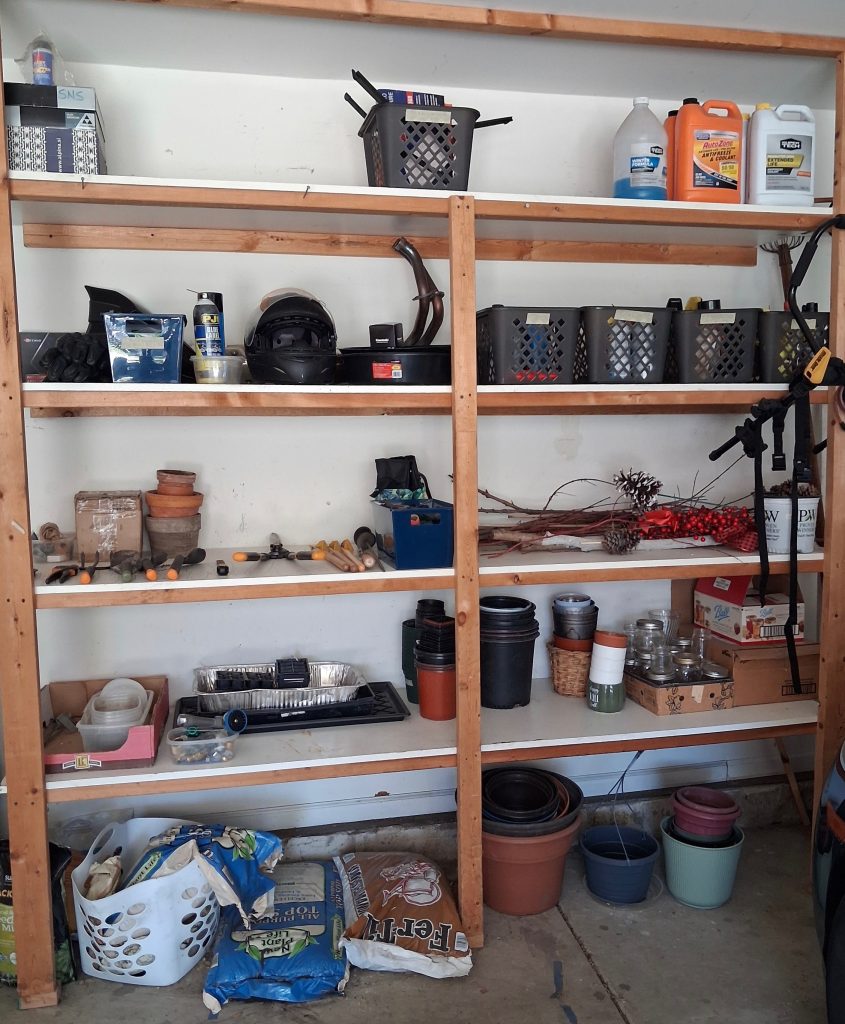
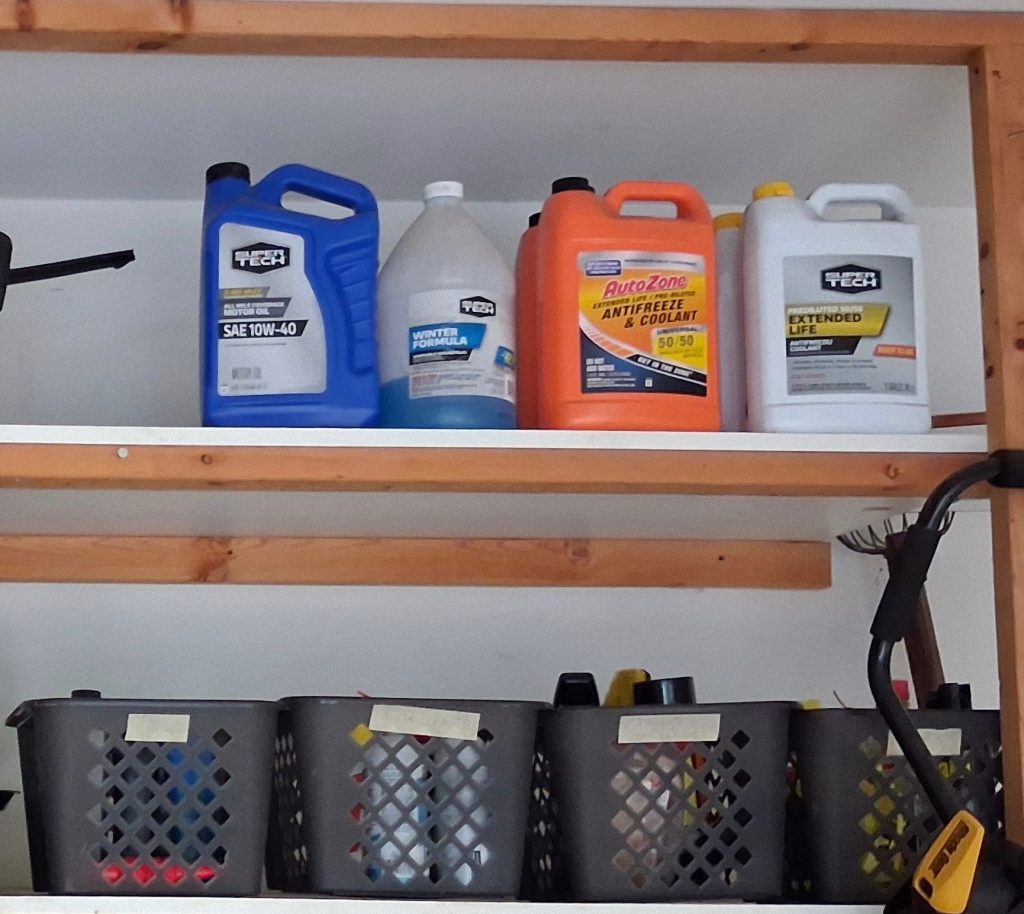
Specific zones made everything easier. Right away we ran into an exception, and the top left shelf became a zone for all our cross-country ski supplies. We don’t use them as often as other things in the garage, so they don’t need to be as accessible. A good rule of thumb is that anything from your waist to eye-level should be for the things you use the most. The top right shelf was now clear enough to take all the big bottles of motor oil, anti-freeze, and coolant and face them forward so we could easily see labels. (See my post about facing shelves.)
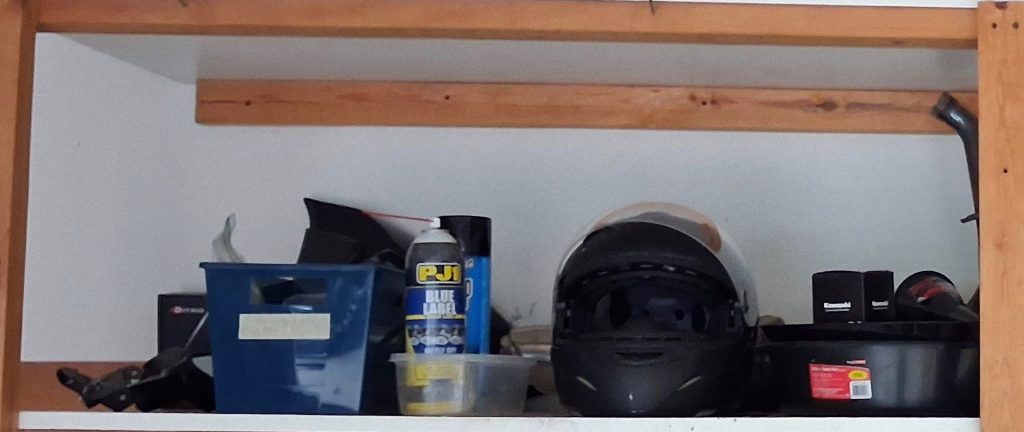
The middle left shelf became the bike zone: all things motorcycle. Because it stands conveniently right behind where they park their bikes, gloves, helmets, and bike parts that previously ended up on the potting table or the grill or the floor, now have an easily accessible home.
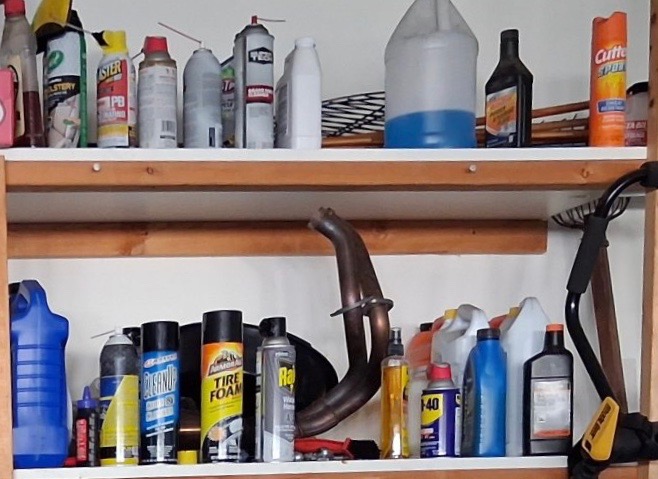
The middle right shelf became “Can Central”. Every garage that we have ever owned quickly accumulated cans. Cans and bottles of bug spray and lubricant spray and goo remover and paint-touchup and all the miscellaneous things that you need once in a while. These get messy (sometimes because they are drippy) and cluttered very quickly. Searching for something among the collection of cans can be time consuming.
Organization solutions
A few plastic crates from the dollar store make all the difference. Plastic keeps potentially sticky messes contained, just in case. Cross hatching allows the visual person to still be able to see the outline of their things to identify them, but provides just enough visual block to satisfy the family member who likes things hidden away. Specific labels means no one ever forgets what is in each crate. We chose these particular crates and labels (masking tape) because of the low cost and availability of things on hand. If you desire a particular aesthetic for your garage, go all out making your space work for you.
A few more zones and we finished with the garage. All our lawn implements hang on the right wall of our garage, so it made sense for the shelves above them to hold all the lawn-related supplies. We cleared out all the garbage, moved a few things that had homes elsewhere, neatly lined up all the grass seed, weed-wacker line, and sprinkler accessories, and hooray!
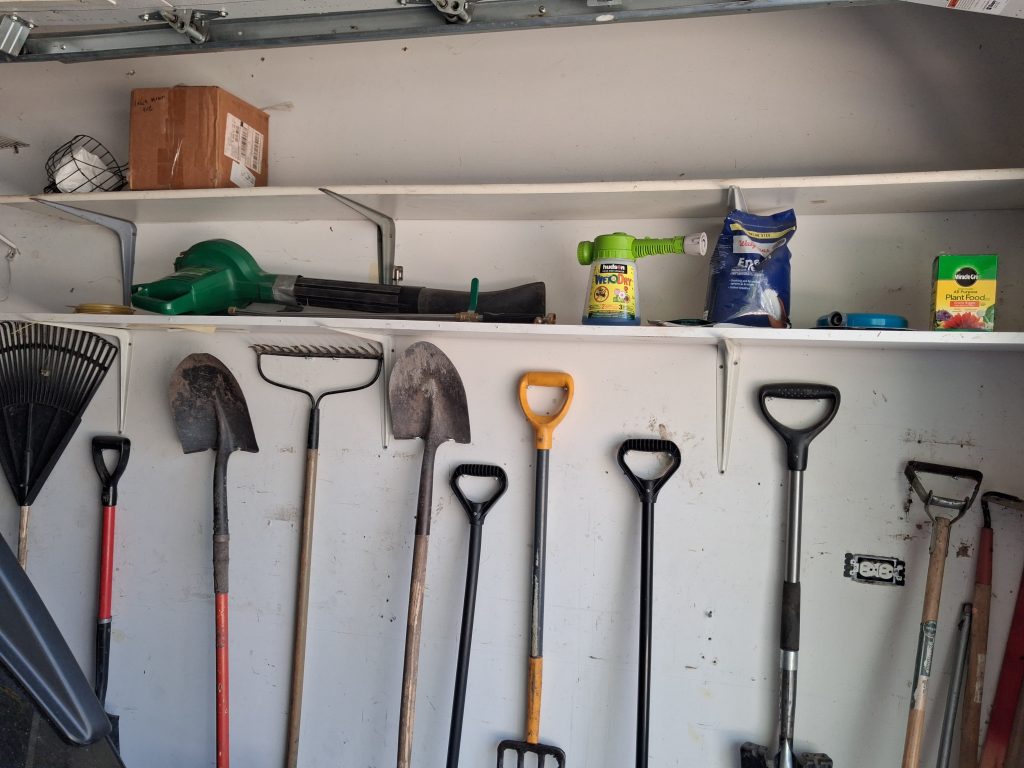
One final hack. Open shelf space seems like a waste, but in reality it serves as a storage solution. New things will come in. Empty shelf space ensures that when you really need something new in the future, you already have a place it can call home.
Here’s to organized garages that stay out of the danger zone by organizing with your family members instead of for them. If you need some strategies for doing so without friction, contact me today!