What is the best way to organize your garage?
How to declutter your garage quickly?
Garages. They’re the worst! I can park both my cars in my garage (and even fit in a few bikes, both kinds), so I am hitting some of my goals, but it seems like every few months I walk into my garage and think, “What happened in here?” Clutter happens. Even to the organized of us.
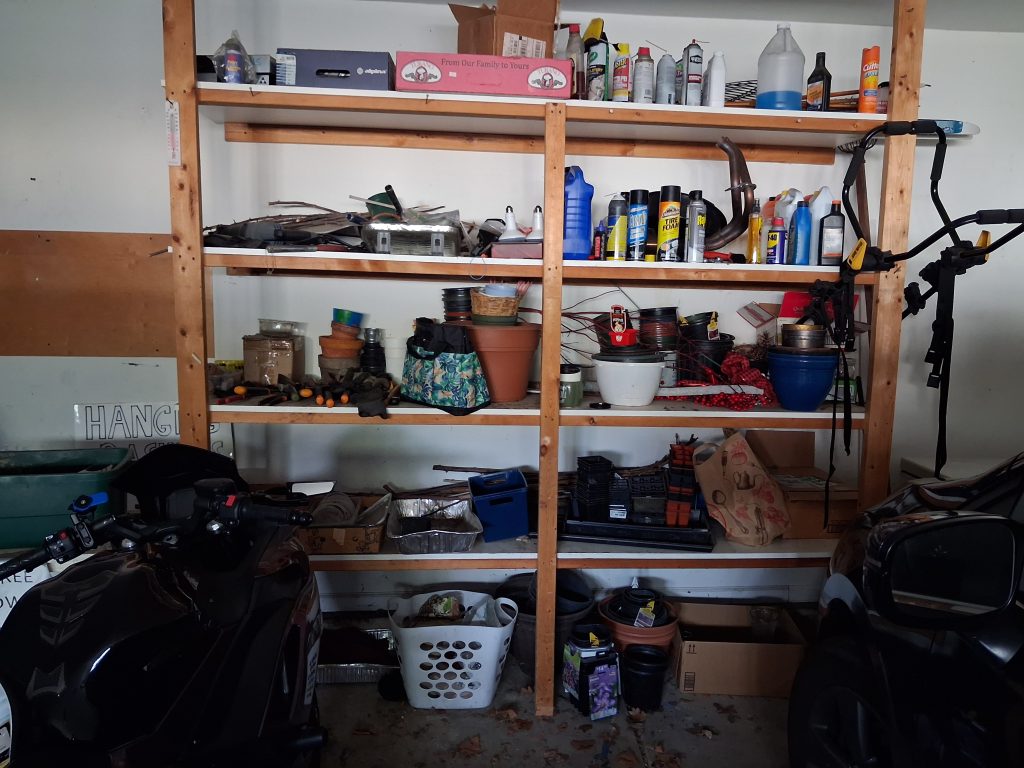
So with gardening season finally on its way, I figured this would be a good time to work on decluttering and organizing my gardening supplies. And I’m inviting you to work alongside me. Let’s train our spaces together, today!
How to begin
There were two things that needed to happen in my garage today. The first was progress without making a bigger mess, and I wanted to be able to stop at any time because I didn’t know how long this would take. The second is that I knew I needed to get rid of a lot of things. We gardeners tend to hang on to things. They are all useful. We have used them all in the last year (or at least something exactly like them). Everything brings us joy. So I had to make some rules for myself before I started.
Do it now!
Along the way there were lots of little side projects. And it is tempting to make piles and promise yourself you will take care of that one thing later, but that usually just leaves you a bigger mess. So I started on the bottom and worked my way up. The first step was to throw away the dirty towel that was used for oil changes (it was too gross to donate) and move the drip pan. We have a car section of the garage, so it got moved there, right then instead of making a pile of things to take to their real homes later. (This is part of Dana K White’s No Mess Decluttering method.)
Set concrete limits for yourself
Next, all the pots on the bottom got pulled out and grouped by size and function. I knew that there were going to be lots more where those came from, so I made another rule. I could keep just 10 of each size of pot. That is still a lot of pots, but I knew that getting rid of things might be challenging, so setting a concrete limit would help make the decisions easier. As I grouped the pots, if I reached 10 in any given stack, the rest got thrown away, saving the nicest ones only. Unfortunately, garden plastic is usually not recyclable. The industry is working on that problem, and check your local guidelines, but mine had to be thrown away. (Because every other gardener I know also has their own pot-hoarding problem.)
The second rule I made for myself was that I had to clean the pots before I put them back. Many of them had been shoved back on a shelf without being washed after using. Cobwebs had accumulated. Garages are just dirty. If it wasn’t worth it to me to wash the pot, it wasn’t worth saving.
Some other obvious donations, trash, and things that belonged elsewhere made quick work of the floor. I did make sure to pull everything out at once (which I don’t always recommend for no mess) because I needed to sweep dirt and cobwebs out of the space before putting anything back.
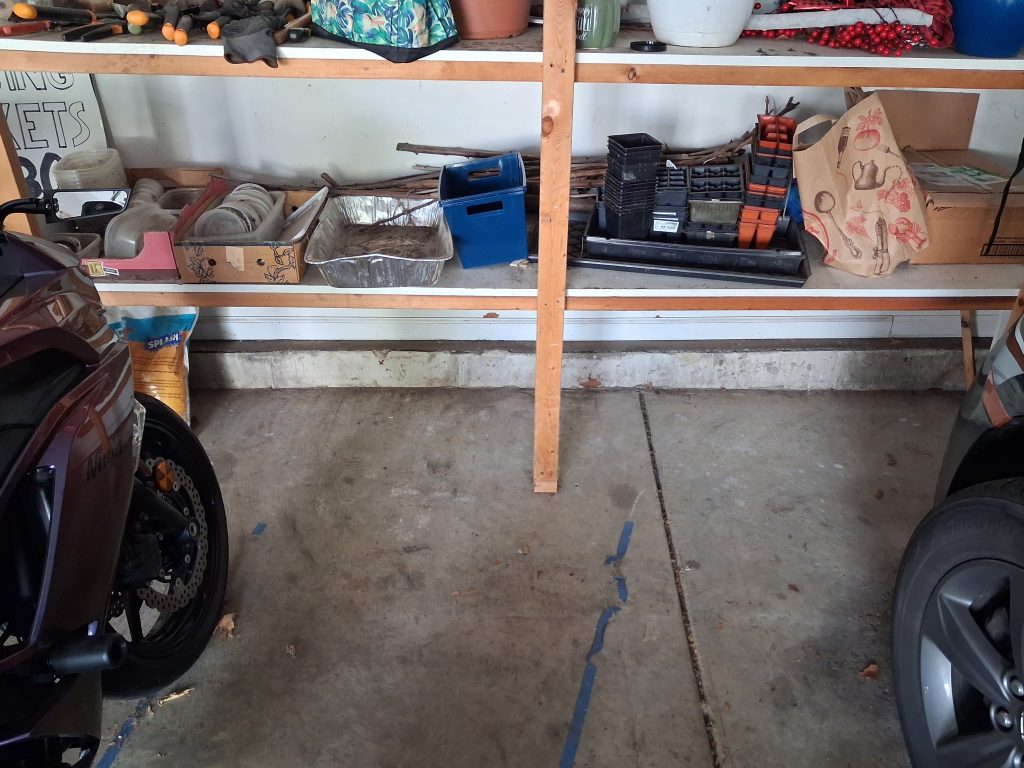
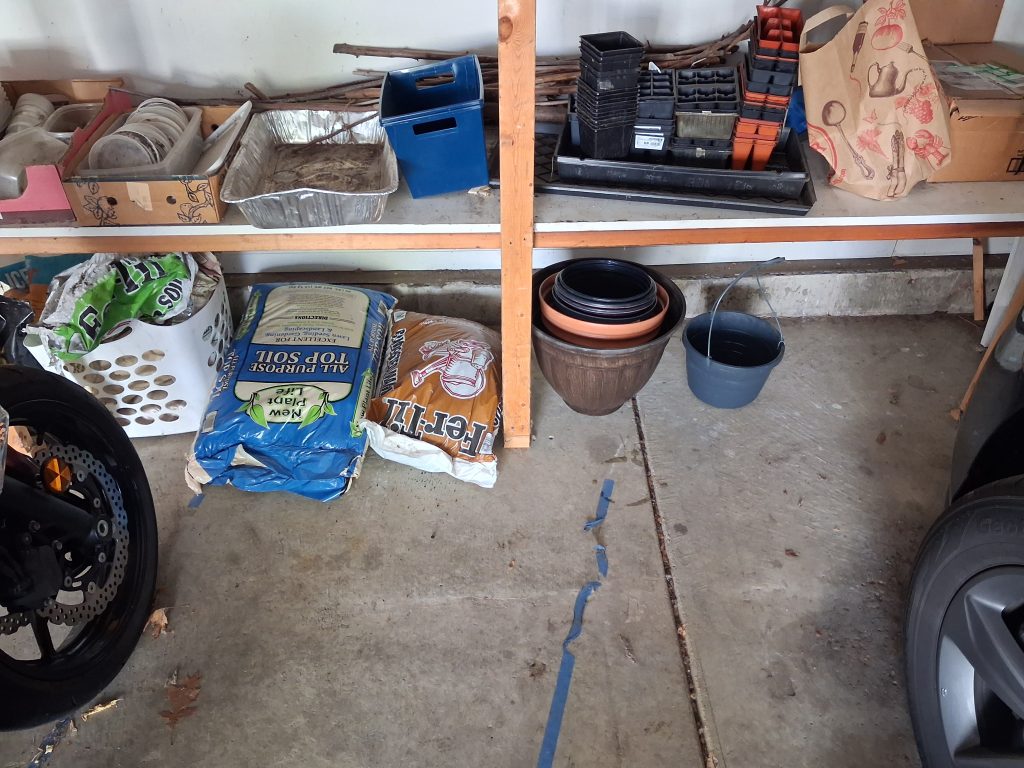
This gave me lots of new space where I could neatly organize all the bags of soil, sand, and compost that I use regularly so they are more accessible. An old laundry basket that had seen better days worked great to contain half-used bags to keep them from spilling and making a mess. The largest outdoor pots found their forever home here and we have already made progress!
Zoning
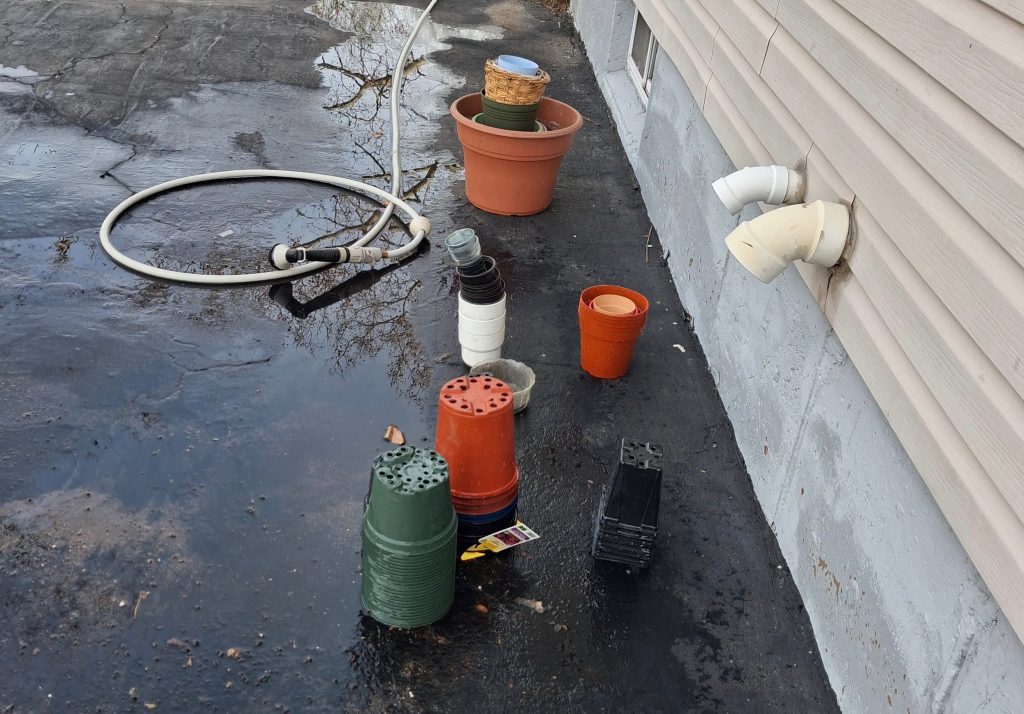
Moving upwards, I continued the process. I threw out obvious trash (and I found some strange things in some strange places!). Some things I didn’t need any more I could donate. Broken pots or ones that exceeded the 10-limit rule went straight in the garbage. Pots that I was keeping got immediately washed in the driveway.
Then I started zoning my shelves. I had lots of canning jars and vases that I use for giving away flowers in the summer. They received their own section of the shelves. Plastic pots for starting seeds and plants got their own section. Decorative pots without drainage used inside the house got their own space. Everything got decluttered and designated its own home with other things like it.
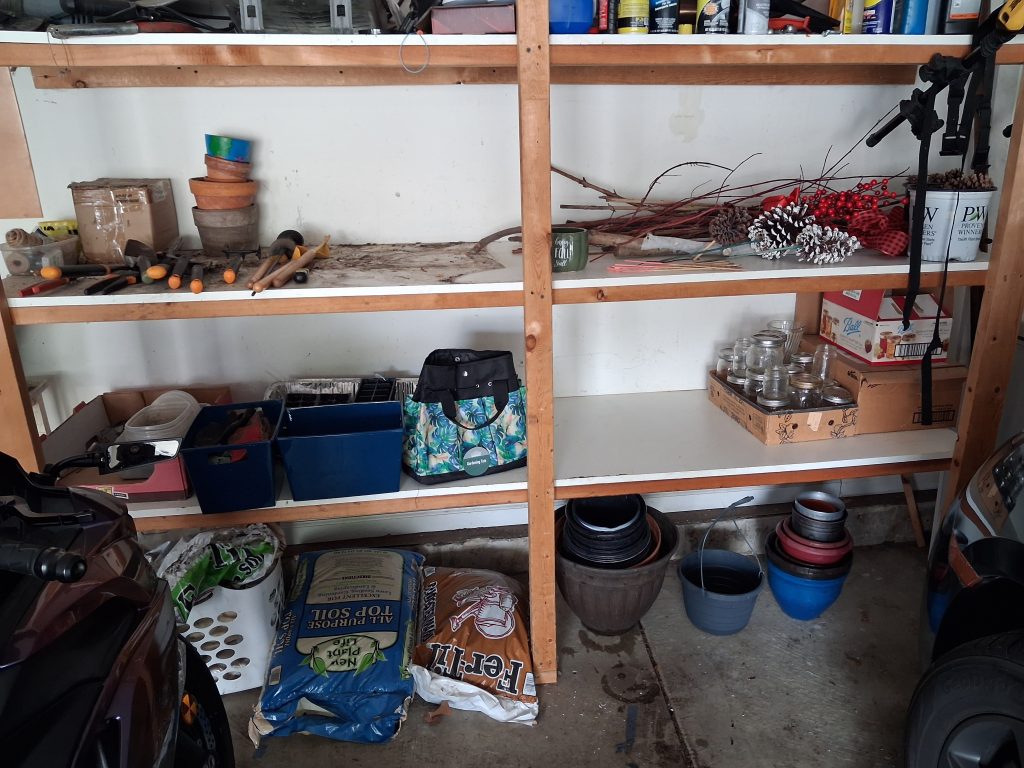
I wiped the shelves down as I went because they were filthy!
Tips and Hacks
Garden gloves are always a problem spot for me because they get dirty and make a mess all over the shelves. They also get lost among other things and, like socks!, they always seem to lose their mate. A cheap dollar store container made a perfect catch-all for garden gloves.
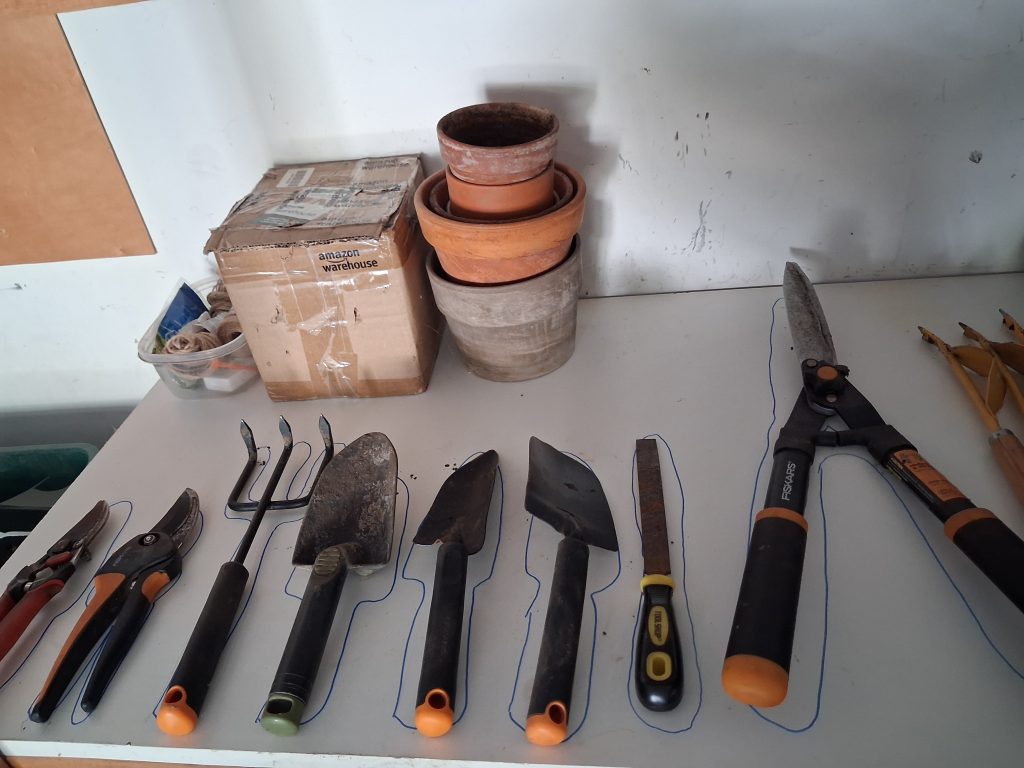
Small garden tools also seem to end up in a jumbled mess very quickly no matter how many times I neatly arrange them on the shelf in a fit of organizing. This time, after wiping the shelf clean and arranging them so they all had enough room on the shelf to breathe, I tried something new. Taking a marker (that you can wipe off later if desired), I traced the outline of each tool on the shelf. This way when I go to put it back, there will be its space ready and waiting for it – and reminding the other tools to stay in their own lane!
Finishing up
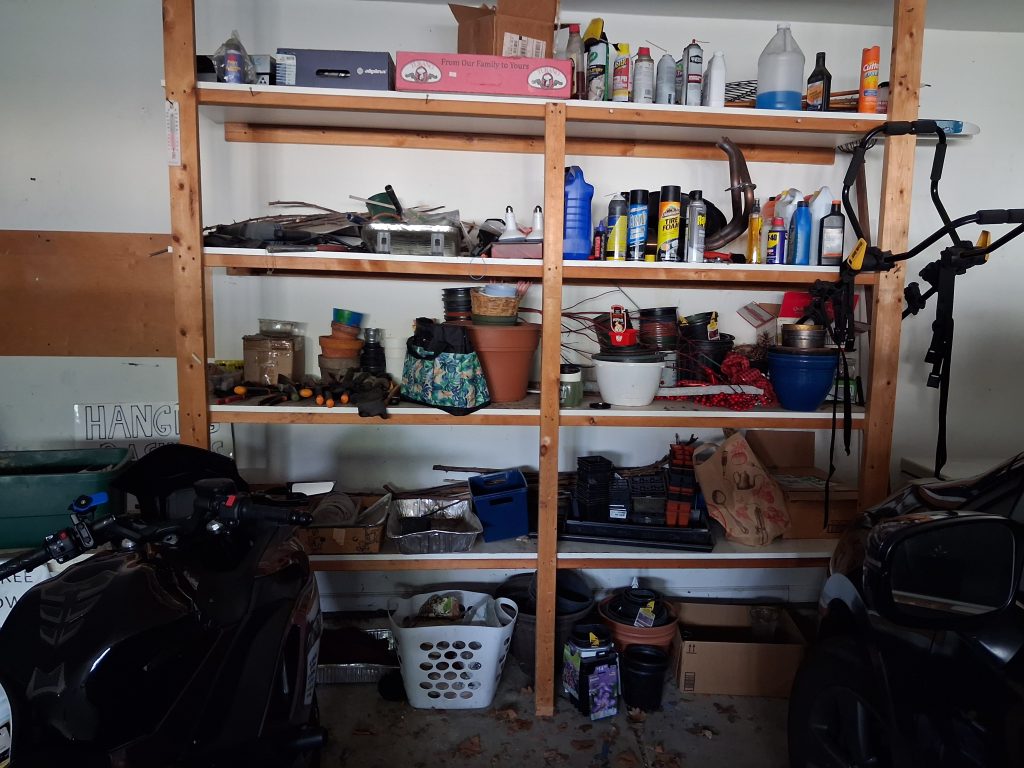
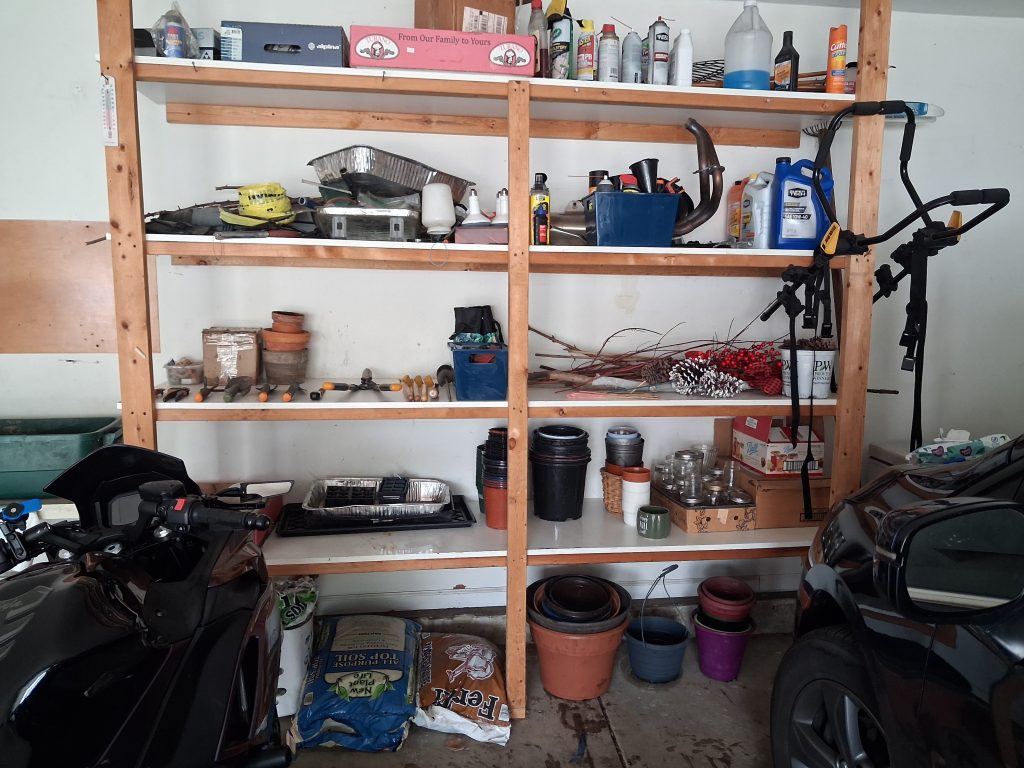
It has been two hours, and I need to move on to other things. The shelves aren’t done (I barely even looked at the top two shelves of automotive supplies), but I made good progress and didn’t make a bigger mess. I consider that a success!
I hope that you were able to make progress on your space today, too!